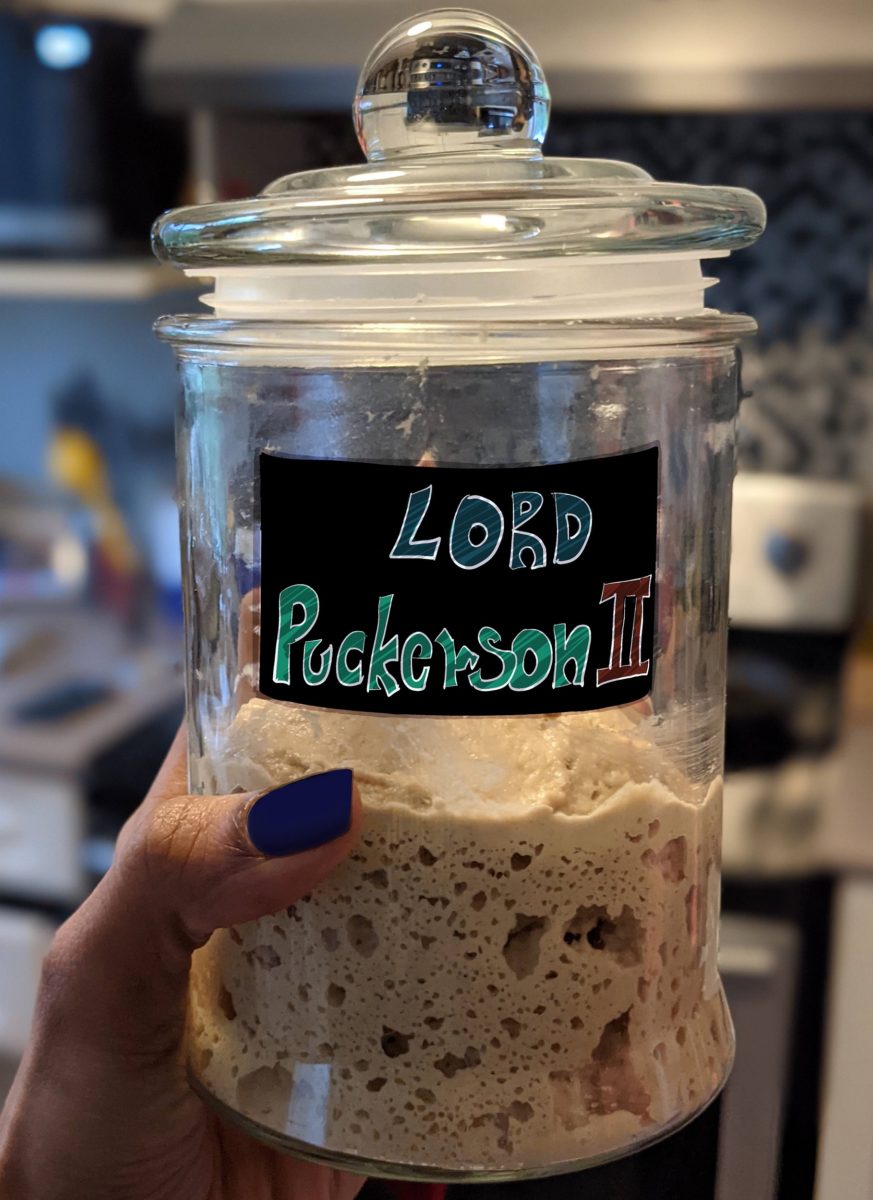
Lord Puckerson II
Do you guys ever get the feeling that you don’t want to do something because the entire world was doing it? When the pandemic came around, the whole world jumped on the sourdough wagon, and much to Ni’s dismay, I ran in the opposite direction. I hated that everywhere I turned, there was a photo of a mason jar overflowing with sourdough starter, bubbling in all its glory. Everytime Ni would hint at our own sourdough starter, I’d keep making excuses. I think there was a time when I told him “We’ll come up with a name first and then I’ll start it.” It’s stupid really, because if anyone was to jump into the sourdough business, it should’ve been me! My life is absolutely incomplete without sourness in literally everything I eat, starting from the lemon tea, with which I start my day to the lime I use to wipe the curry off my plate at dinner. One of the last things that Ni and I picked up as we were leaving the US, was a pack of 24 sour beers from our favourite brewery in Vermont, Hermit Thrush. Here in Canada, we are on a journey to find all the local breweries that come out with sour beers. A lot of them are pretty incredible, actually. But, as usual, I’m getting off topic.

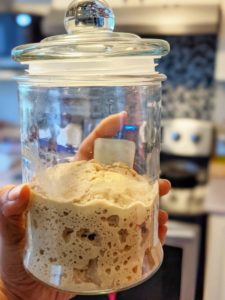
While a lot of my avoiding was because I just didn’t want to do what everyone else was doing, I know that fear and apprehension about the process were major factors. But, I’m not sure I know why. I’m a tester. What was the worst that could happen? I would start a batch that could get ruined and I’d start all over again? Hell, I researched the subject on and off for 2 years and my first batch still got ruined and I had to throw it out (hence, Lord Puckerson II.) And even he was a tough one at the beginning. While the world had success with their starters, he actually took 14 days to come into full bloom, with no indication that all the while he was silently building his strength. When I opened the lid on the 14th morning, my lord! It was like opening one of those treasured Hermit Thrush beers, so funky and sour. He had bubbled and doubled in size. Such a proud moment.

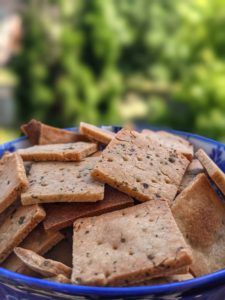
I was an idiot. God, the amount of things that I can make with sourdough starter! Not to mention the obvious fact that I can make and replace sourdough bread that we currently buy from Costco, I’m a person who likes to eat chapatis maybe twice or thrice a week. Sourdough chapatis! I made crackers last week, by just mixing it with some salt, pepper and dried parsley, rolling it flat and baking it. Holy cow!! Sourdough pancakes, sourdough aloo buns, oh my god, sourdough samosas, maybe? Hmm, that’s going to be an interesting experiment.
Okay, now comes the geeky part, so heads up.
BASICS: How does baking bread work? You mix warm milk with sugar and yeast. You let it rest for a few minutes while it bubbles and froths. You add the flour, salt, knead, knead, knead until the gluten is well worked. You then let the dough rest in a warm environment for a few hours, while it doubles in size. Shape it, bake it, and you get bread. So let’s concentrate on the first step. Adding the yeast. What happens there is that when the yeast is introduced to such a warm environment, it comes to life and starts eating the sugar to produce carbon dioxide and ethanol. It’s this carbon dioxide that creates the bubbles. When you add flour to the mixture, these bubbles get trapped under the smooth surface of the gluten, which then expands when you bake, making the bread soft and fluffy.
The science behind a sourdough starter is quite similar. You start with an equal proportion of flour and water. Give it a warm temperature. Except in this you are not introducing the yeast, but rather giving the starter time for it to develop its own yeast, from the air, water, and the flour itself. And as the yeast starts eating at the sugar, they start to multiply, building that sourness. Everyday, you remove about 3/4th of the starter (called the discard,) and replace it with fresh flour and water, essentially like feeding your Tomagachi. Now, it has more sugar to feed and develop a flavour with. But here is the surprising bit, a good sourdough is about not just the yeast, but also its balance with a bacteria that produces lactic acid. Like most of grandma’s pickles which use oil, salt and vinegar to stabilize it, sourdough starters rely on this lactic acid bacteria to create an environment that is not a happy place for anyone else, in essence, protecting the space, hence making sure that it will last on your shelf for decades.
FLOUR: Different flours bring about different flavour profiles, of course, but it is my understanding that the more milled it is, the lesser the chance of microbes from which the yeast grow. For me, that eliminated all purpose flour. It’s a brilliant option and to be honest, a lot more stable, but I wanted more of a sharp tang that comes from a whole wheat starter. Rye is also a good option and is said to have a lot more activity in the starter. There are also a lot of people who mix and match flours. I think it’s more of a subjective test that you’d have to try for yourself to see which flavour profile you’d like. What I learnt is that rye, while subtle is more earthy, whole wheat is more spunky and all purpose is more subtle and graceful. Lord Puckerson II, is a whole wheat boy.
WATER: There is a lot of talk about using only mineral water and so on, but I am of the school that what doesn’t kill you only makes you stronger, so tap water it is, for me. I did warm up the water a little, just a little, because we are still chilly on most days here in Canada.
THE MIXING RATIO: Okay, this is where it gets a little iffy, at least for me at first. I followed a basic 1:1. That is, the same proportions of existing culture (in the jar,) and new culture, that is the new flour, and freshwater. Ideally this is for when you are starting your culture, when you want it to be full and active, but once you hit the sour note that you want, it is more about maintenance, rather than creating that sour note, so you can afford to change the feeding ratio to 1:3, meaning more fresh flour and water for the tiny amount of yeast to work through, essentially slowing down the fermentation process. The alternative is feeding often so that it does not eat through all flour and sugar before you feed it again. I think the less often you bake (or rather use the sourdough discard,) the bigger your ratio can be.
FEEDING THE SOURDOUGH: When you start the culture, start feeding twice a day, essentially giving the yeast a 12 hour window to finish eating. Because it’s young, it’s also hungry, but as it stabilises, you increase that window to 24 hours, allowing the yeast to develop more of a flavour without having to worry about the stability. This is where it has finished eating the sugar and has produced the carbon dioxide and is now concentrating on the ethanol. That’s your funk master.
Once you get the flavour profile you were looking for, it’s time to think about maintenance. You can either put it in the fridge, slowing down the fermentation process, feeding it once a week to make sure it is alive, or increase your mixing ratio which also in essence slows down the fermentation process. For the time being, I’ve chosen the latter, because I see a lot of baking in my future.
CLEANING: After each feeding, make sure to wipe down the top of the jar. It reduces the risk of little bits of flour attracting unwanted mould.
MY PITFALLS: Like I said, Lord Puckerson II was not the first attempt and was, by no means, an easy attempt. My first batch was actually in a glass jar with a mouth that curved to a close. Not that it wasn’t wide, but still a bit closed. This made for difficult mixing and even more difficult cleaning. That was my downfall. One of the little pieces stuck to the top of the jar started developing mould on the third day and I had to redo the whole process.
When I started Lord Puckerson II, the first day was fantastic. I had changed the jar to a straight one, with a proper lid which allowed me to keep it clean after each feeding.
He raised, I cheered, we all danced.
And then overnight, nothing. I just figured he was being temperamental and kept feeding. I was right.
Day 4, nothing. I then wondered if the lid of the jar was maybe too good. The idea is to allow air to flow through and this one had a seal lock, which I didn’t really close fully, but just seemed like it could be a reason to irritate the Lord, so I switched it to a simple jam jar lid that I just placed on the top.
Day 5, nothing. I spent all night reading about why starters don’t rise and was met with another set of perfect sourdough starter photos. God, I hate the internet sometimes.
Day 6, Day 7, Day 8, nothing. I moved the jar from the warm part of the kitchen counter to the inside of the oven after warming it up a little.
Day 9, Day 10, Day 11, nothing. I was almost ready to give up. “One more day,” I told Ni, “that’s it.” Then I came across an article that spoke about having too much water in your starter. I was following the 1:1:1 ratio, strictly, in fact, with weighing scales and what not (which is very unlike me,) but I did notice that my starter seemed a bit wet.
So, Day 12, I reduced the water by 5 gms. Honest to god! 5 gms.
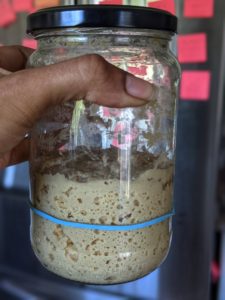
Day 13, there were bubbles, baby!!!
Day 14, the Lord was not just alive and kicking, but brought on the funk!

I guess what I’m trying to say is that every starter has its own personality. Just be patient, let your starter become its own being.
Funky, spunky sourdough starter!
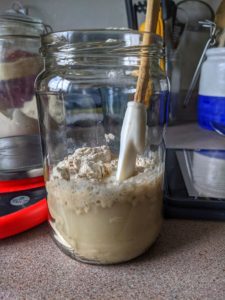
Mix 100 gms of whole wheat flour with 100 gms of water. Make sure there are no lumps and that there are no dry bits of flour. Clean the top of the jar, loosely close the lid and let it work its magic for about 24 hours. Keep it in a warm spot, away from direct sunlight.
Remove 100 gms of the starter from the jar. Replace it with 50 gms of fresh flour and 45 gms water. This is the 1:1 ratio. One part of the old culture and one part of new culture (made up of half flour and half water.)
To mix, I recommend adding most of the water first, make a slurry and then add the flour.
Make sure there are no lumps and that there are no dry bits of flour. Clean the top of the jar, loosely close the lid. Let it rest away from sunlight for another 24 hours. Watch out for bubbling activity.
Repeat the same process. 100 gms out. 50 gms of fresh flour and 45 gms of water in. Let it sit in a warm spot, away from direct sunlight for another 24 hours. Ideally, you should be noticing a lot more activity, a lot more bubbles.
Repeat the same process. 100 gms out. 50 gms of fresh flour and 45 gms of water in. Let it sit i a warm spot, away from direct sunlight for another 24 hours.
Now that the starter is much more stable, we are going to move the feedings to twice a day to concentrate more on the funk. 100 gms out. 50 gms of fresh flour and 45 gms of water in. Let it sit in a warm spot, away from direct sunlight for about 10 hours this time.
After 10 hours, once again, 100 gms out. 50 gms of fresh flour and 45 gms of water in. Let it sit in a warm spot, away from direct sunlight for about 10 hours this time.
Repeat the 2 times a day feeding for Day 6, Day 7, Day 8, (and if you are like me, Day 14,) until your starter is bubbling away about 6 hours after feeding it. That is when it hits the peak.
Your sourdough starter is ready to use now.
If you are not planning to use the sourdough discard twice a day, increase the feeding ratio to 1:3. This means 100 gms out and 150 gms of fresh flour and water each. This slows down the fermentation process. You can store this on the counter and repeat the process every 48 hours.
If you plan to use your starter only once a week, you can refrigerate the starter. Each time you have to feed, remove the starter, let it sit on the counter to let it come down to room temperature. Feed the starter and let it sit on the counter for a little while until the activity begins. Put it back in the fridge in a couple of hours. Feed again in a week-10 days.