French Macarons
My obsession with French macarons started a few years ago, just after my thesis and right before graduation, I was bored out of my mind. All I had going for me amidst all the job and house hunting, was my job at the Dartmouth library. Everyday, I had a shift retrieving from the stacks, the books requested by patrons. I absolutely loved it. It was early in the morning, which worked well for me as I’m a morning person, I could listen to music, there was hardly anyone around, it was just me and rows and rows of books. How could you possibly not love it?

But since it was only a two hour gig, it left me with a little too many hours for job searching. You’ve all been through this, by the end of the fourth hour you are cross-eyed and ready to fling the laptop. One evening, I was tired of writing cover letters and just wanted a break. I laid a mat on the fire escape in my old apartment and stepped outside with a cold beer. Just that, a couple of food blogs and I was ready to relax. As usual, I went from ‘what should I cook tonight?’ to ‘ooh, how can I bite off more than I can chew?’. That’s how I ended up at French macarons.
That weekend, I did my research, bought the ingredients, and tried my very first batch. And failed miserably. I say miserably not because I couldn’t get them to rise, but because they remained a round clump which I had to spend hours scraping from my silicone sheet. It was just like salt on wounds! This was getting personal.
The trick in French macarons is all about getting that meringue right, or in other words – whipping those egg whites. After a few videos, I was sure I could get it. With some confidence, I pulled out another mat, made another batch of batter, used a cooler colour, and made myself a cup of tea, to succeed in style. I mean it’s whipping eggs, right? How many ways could I possibly screw that up, I even saw a video!

Turns out, a lot! I got my ass whooped, again. It didn’t clump, thankfully, but it did become hard as a biscuit. At least, the results were changing.
In 2017, I lived in three different houses, and I’ve tried making French macarons at least twice in each house. I felt like I could be a meme, shaking my fists in the air, saying “Damn you, macarons!” In the entire year, I read so many different blogs on the subject, followed many discussions, trying to figure out what the regular pitfalls are. The more I failed, the funnier it became and I even started wagering with myself on when I’d finally get it right.

In truth, it’s just about finding a technique that works best for you. After half a dozen epic fails, I settled on mine, and it’s the one suggested by King Arthur Flour, or more commonly known as the Italian meringue recipe. This is where boiling hot sugar syrup is added to the egg whites after they have been whipped to about double their original volume. The sugar syrup is easier to incorporate into the eggs than granulated sugar, giving the meringue a glossy sheen, and provides quite a bit of stability. The first time I tried this technique, I almost got it right. The macarons were light, but did not have that signature lift.
On the New Year’s eve 2017, I suddenly decided to give macarons one last shot. So in between the cake I was baking for the evening, I cracked open some eggs into the whipping bowl. Five hours later, when I pulled the macarons out of the oven, I let out such a loud screech, my roommates came running.

In 2017 year, I finished my thesis, graduated, started my blog and business, but for some reason, getting the French macarons right felt like more of a victory than the others.
I’m not going to lie, my journey with macarons has not exactly been completely smooth sailing since. I tried making them once again when I returned to the US, after almost a year of break from baking and my confidence in that department was shot to hell. Like one might have expected, while I had biscuits, I did not have macarons as they had no feet.
The next time was when I tried making them for Ni’s birthdays and I barely scraped by the skin of my teeth. I got the feet, but they were so crumbly and yet sticky at the bottom that I broke most of them just getting them off the pan.

Last week was the birthday of my favourite one year old and I wanted to make macarons to decorate the cake.

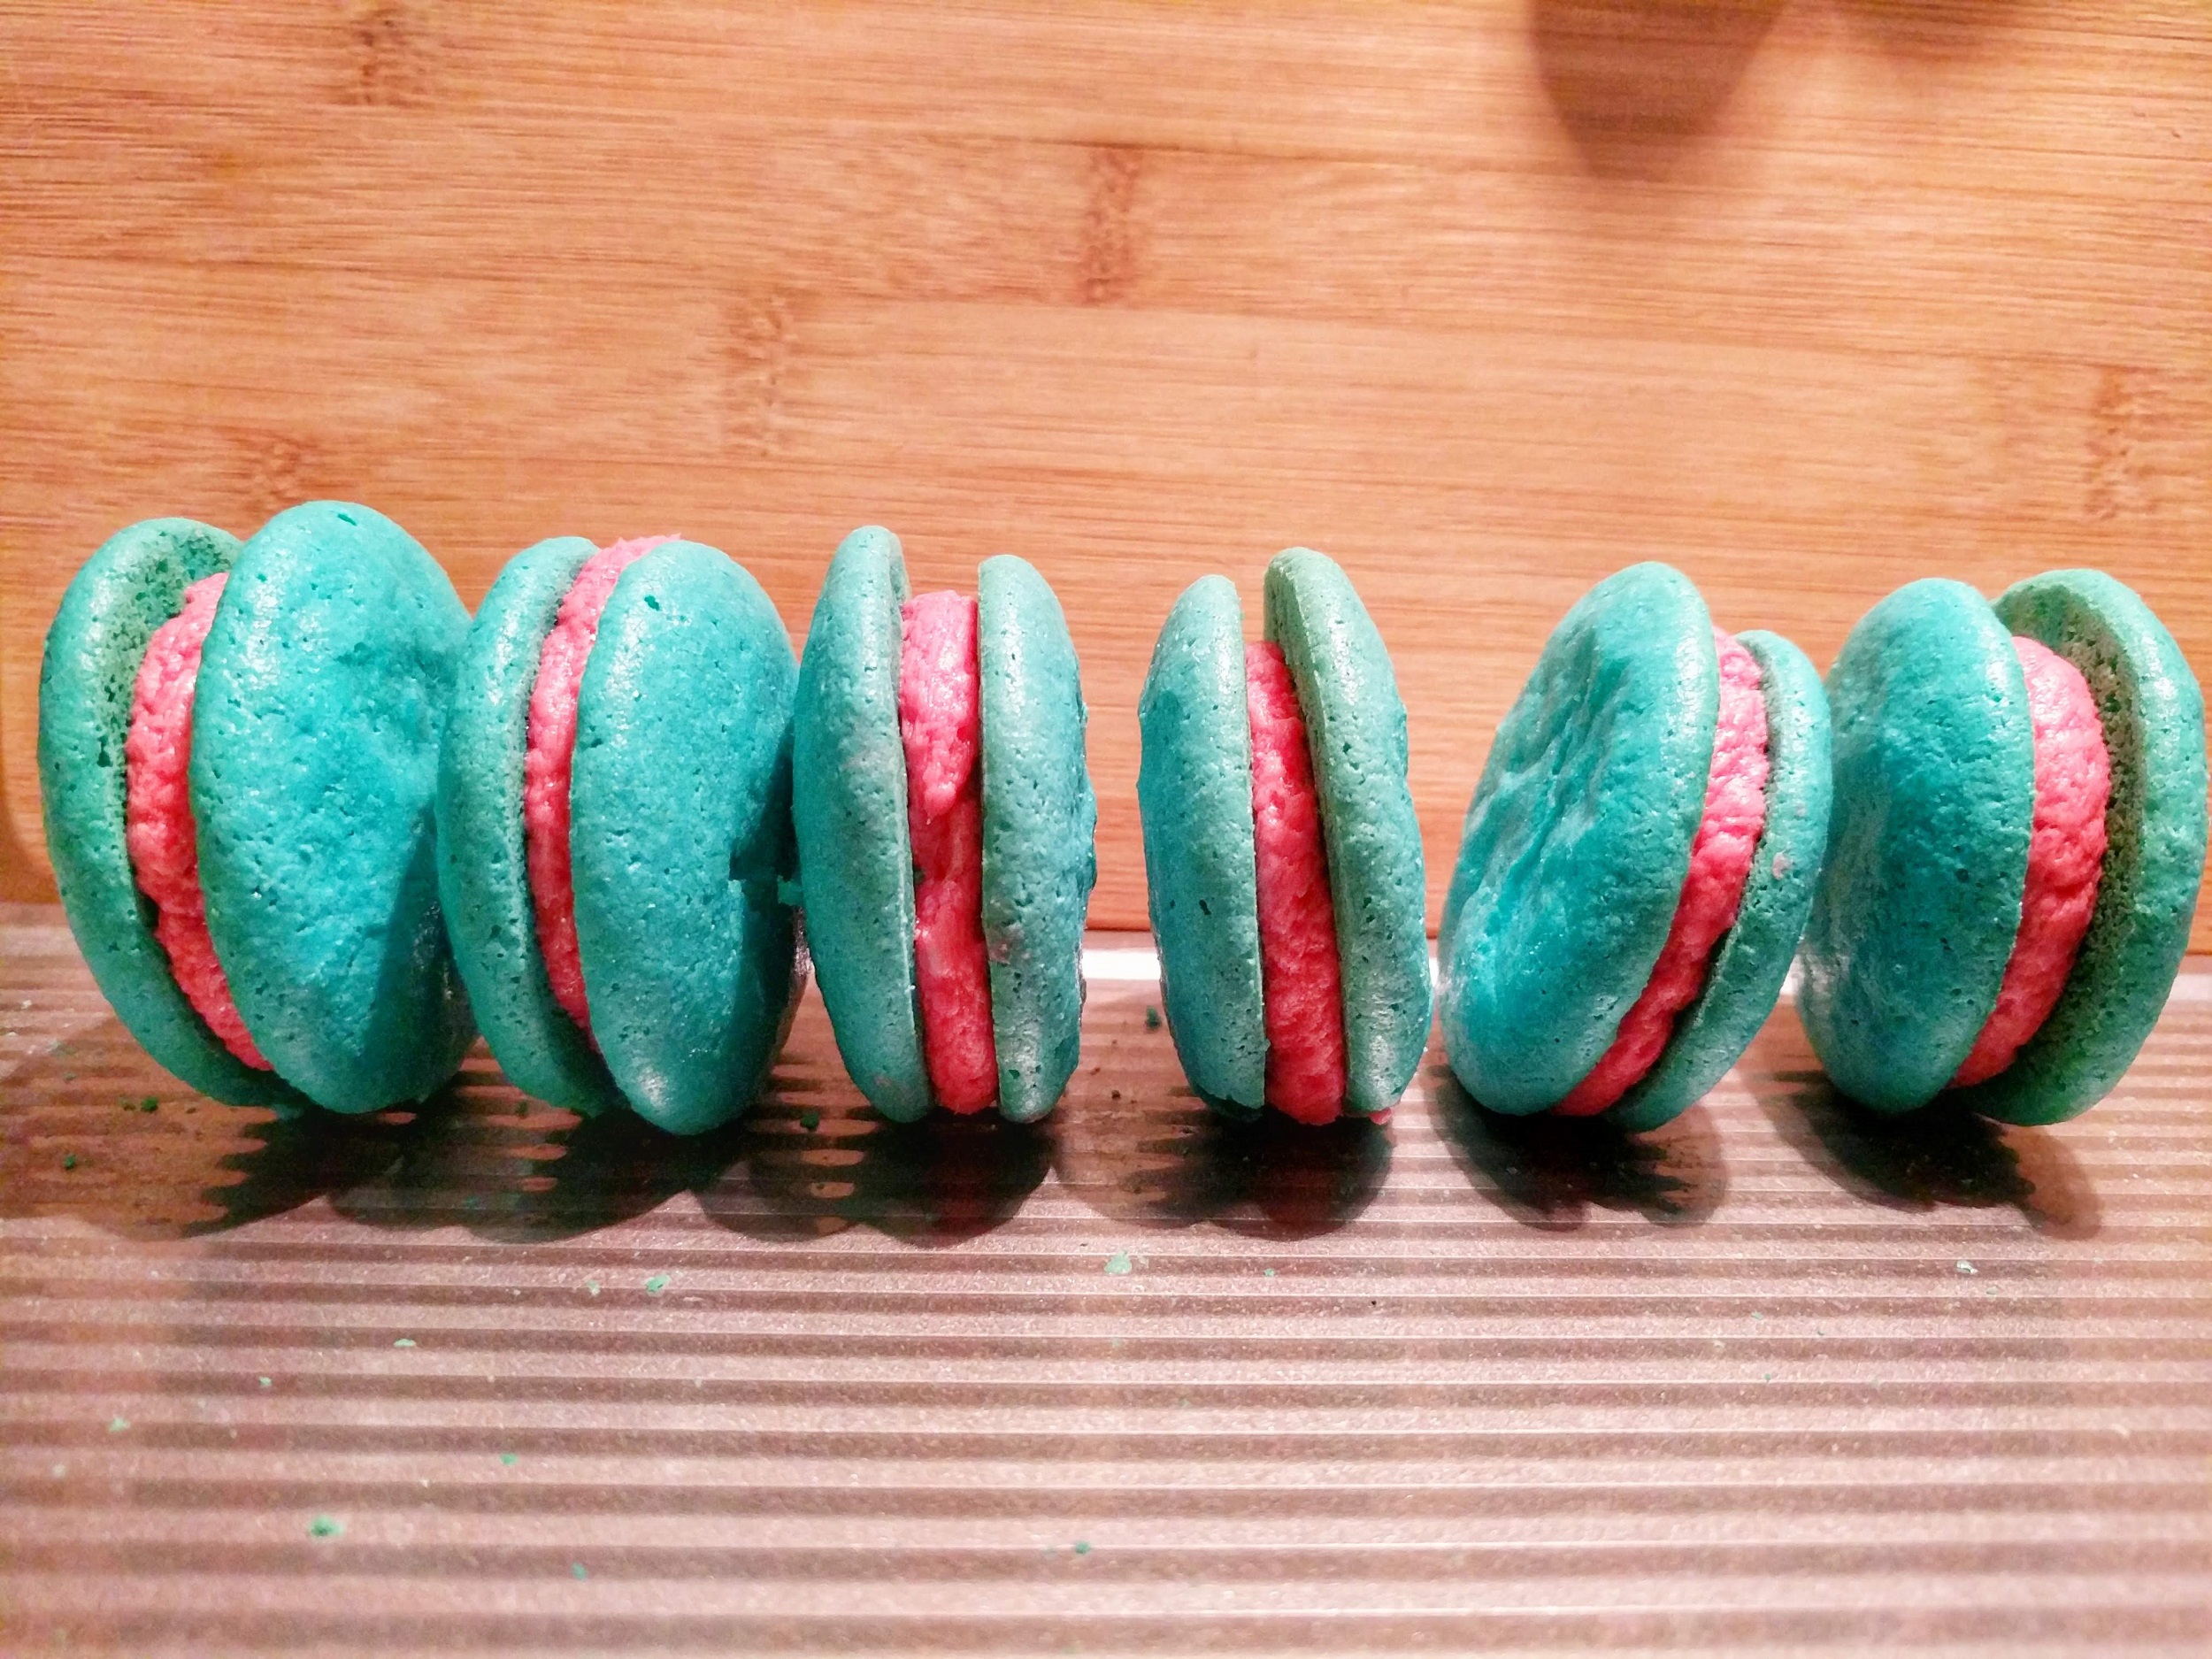
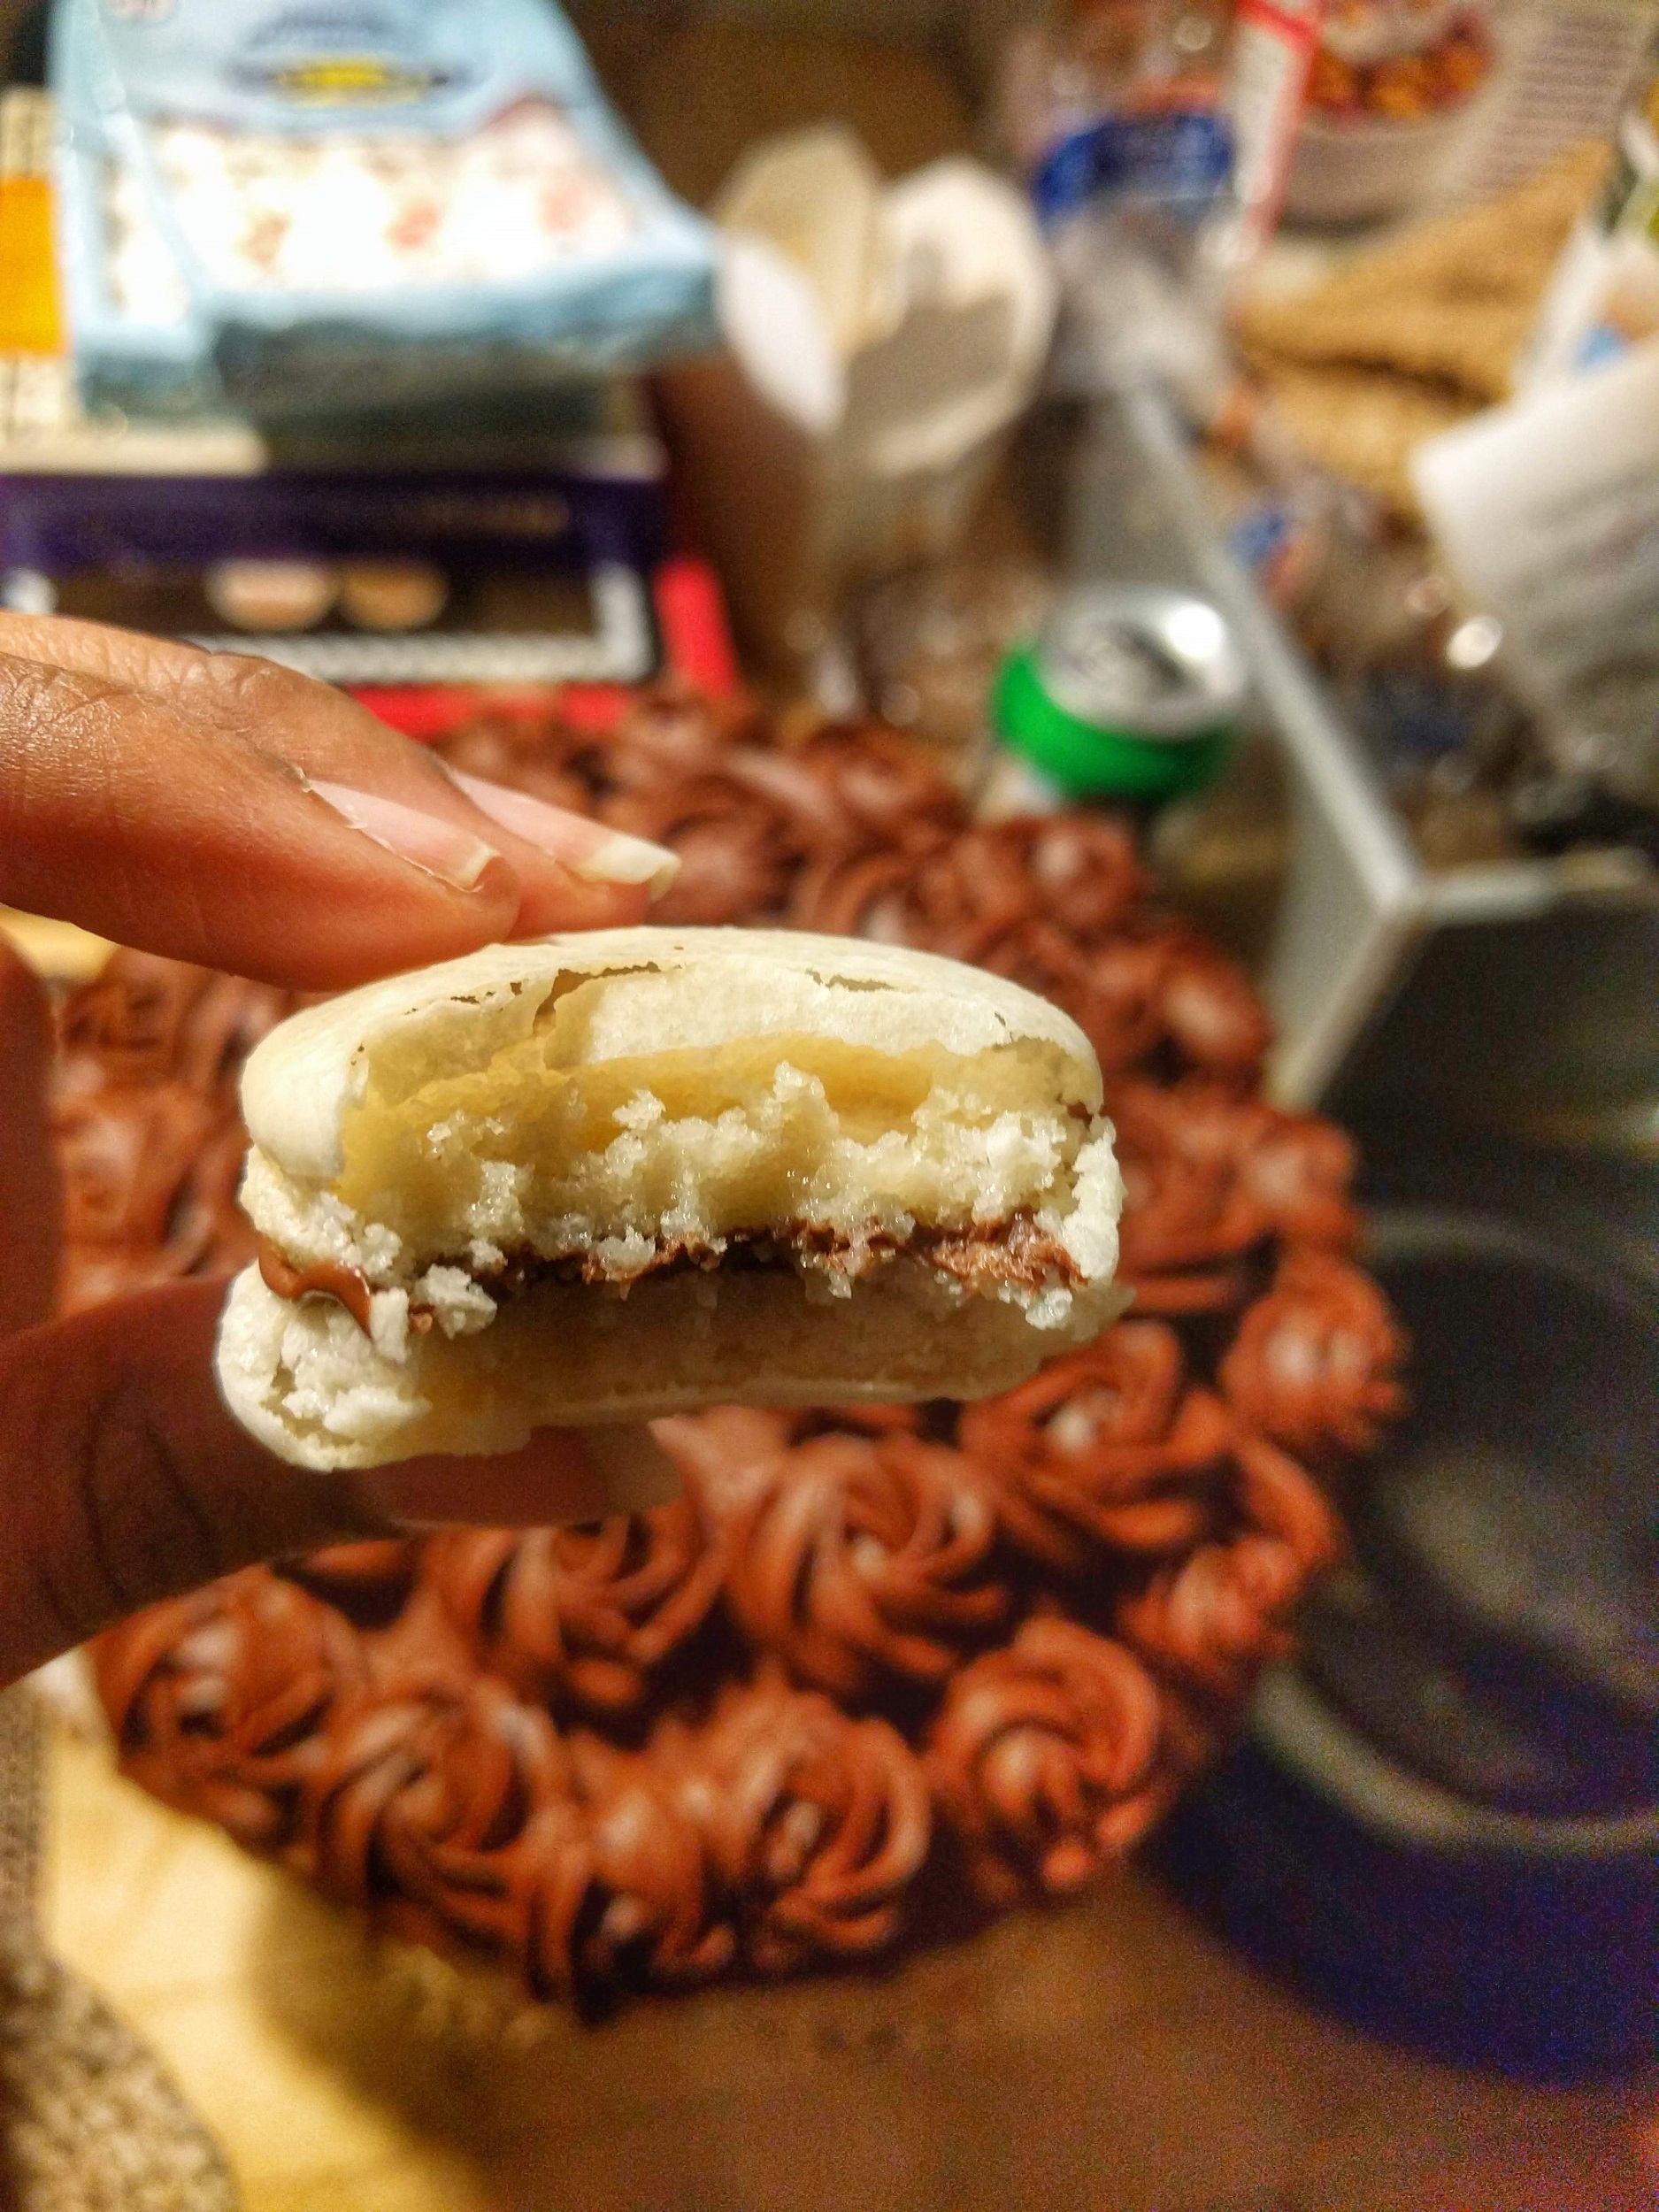
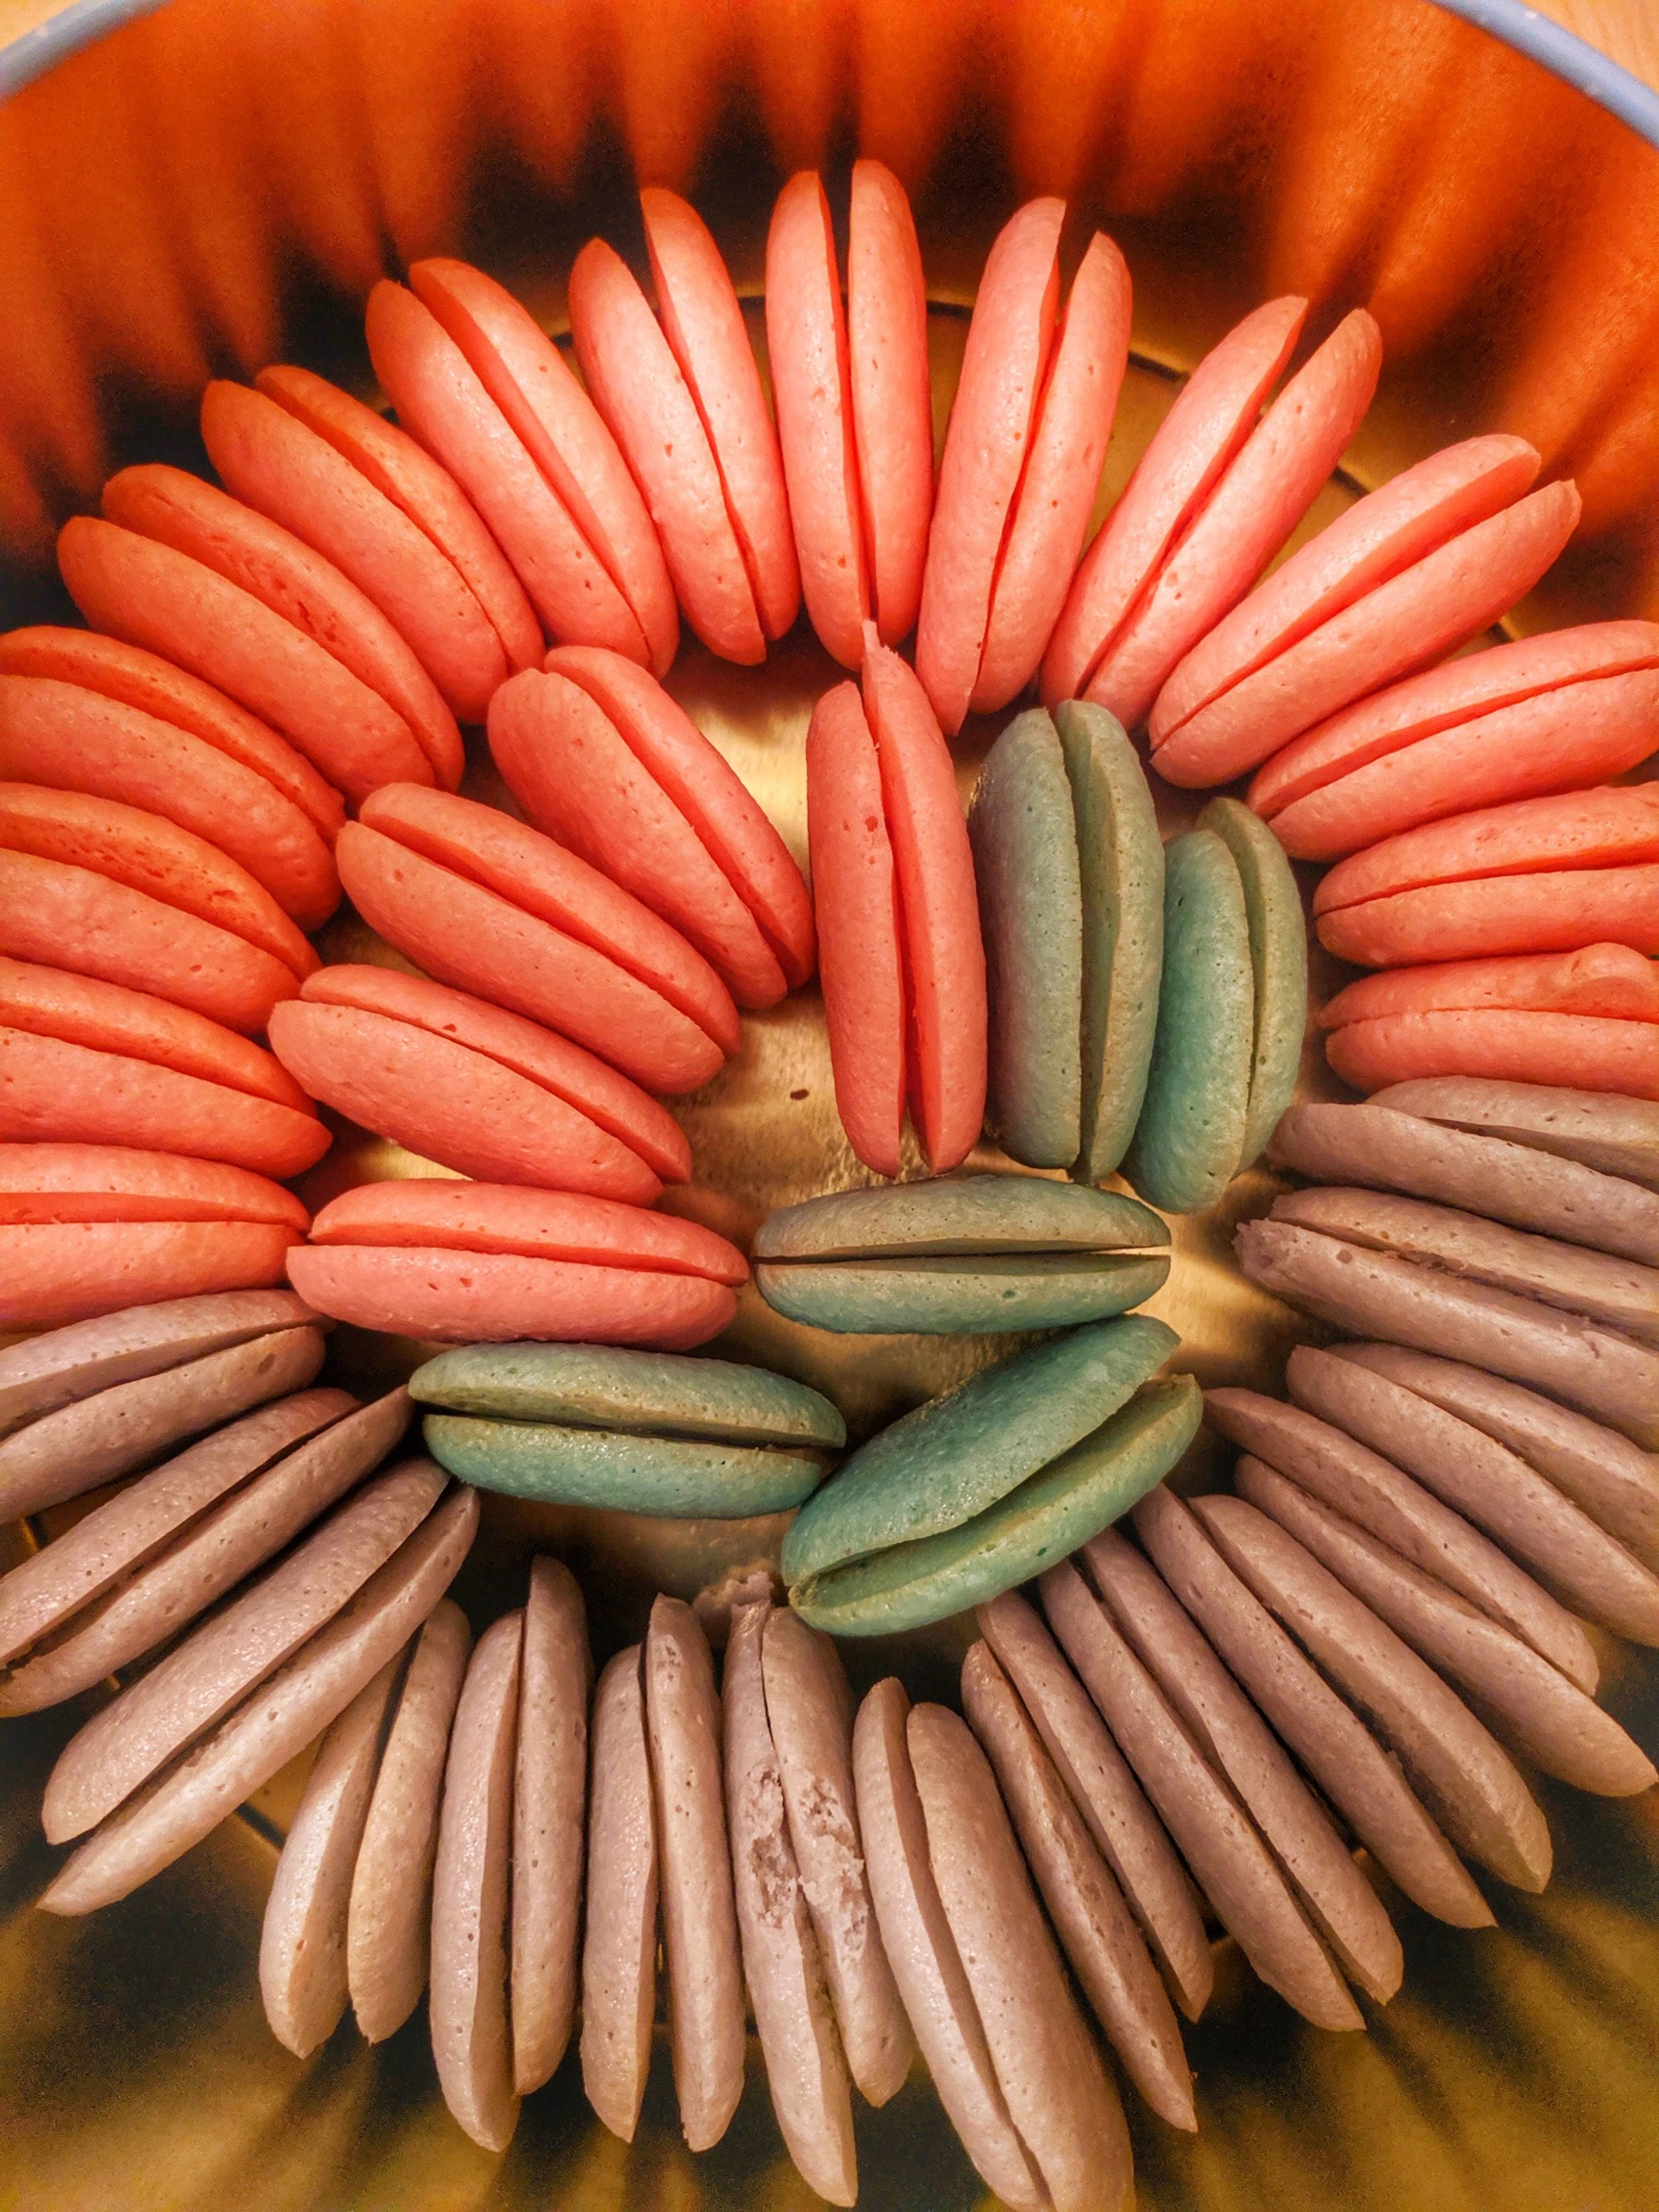
Since the stakes were high, I went back to do more research and revision, looking back on my notes, and I realised that I still had one more trick up my sleeve to make sure I had a stable meringue. Aging the egg whites. This is where you let the egg whites sit in a bowl covered with cling wrap in the fridge for a minimum of 24 hours, essentially dehydrating them, giving you stiffer peaks. Not only did I get beautiful macarons, they were the right combination of crunchy and chewy. I filled it up with a strawberry cream cheese mix (one to match the banana strawberry cake) and my knees went weak with that first bite. Dear God, goosebumps.

So here are my new learnings:
1. Age your eggs. Yes, this makes the macarons a less impromptu dessert, but it will give you stable eggs and thats completely worth it.
2. Sugar syrup over granulated sugar. I’ve come to learn that this is a fool proof method for getting your meringue stiff and glossy.
3. Whip those egg whites until they are almost doubled in volume and can almost hold up a peak before you add the sugar syrup.
4. Once you see it stiffening and getting glossy, be careful about over whipping. If you end up knocking out all that air you carefully whipped, it’s going to get more chewy than crunchy.
5. When you fold in the almond flour into the meringue, it will become a bit watery and fall down in ribbons. Watch those ribbons. They should take at least 10 seconds to disappear back into the batter. This is the right consistency.
6. Unlike frosting, this batter is not going to sit in your piping bag. Prepare for a messy work space.
7. Listen to Buddha about patience. I think some of those failures could be attributed to my lack of patience. Once piped, the macarons have to rest for at least an hour or two hours, depending on the humidity around you. This is so that they can develop a shell on top. This is what allows for forming that lift you see in macarons. When in the oven, the shell remains intact, leaving no other place for expansion but for height. This builds a gap between the shell and bottom, making the macaron light as air, literally! The way you’d know that your macarons have formed skin is to lightly touch it. If you get away with a clean finger, they are ready for the oven.
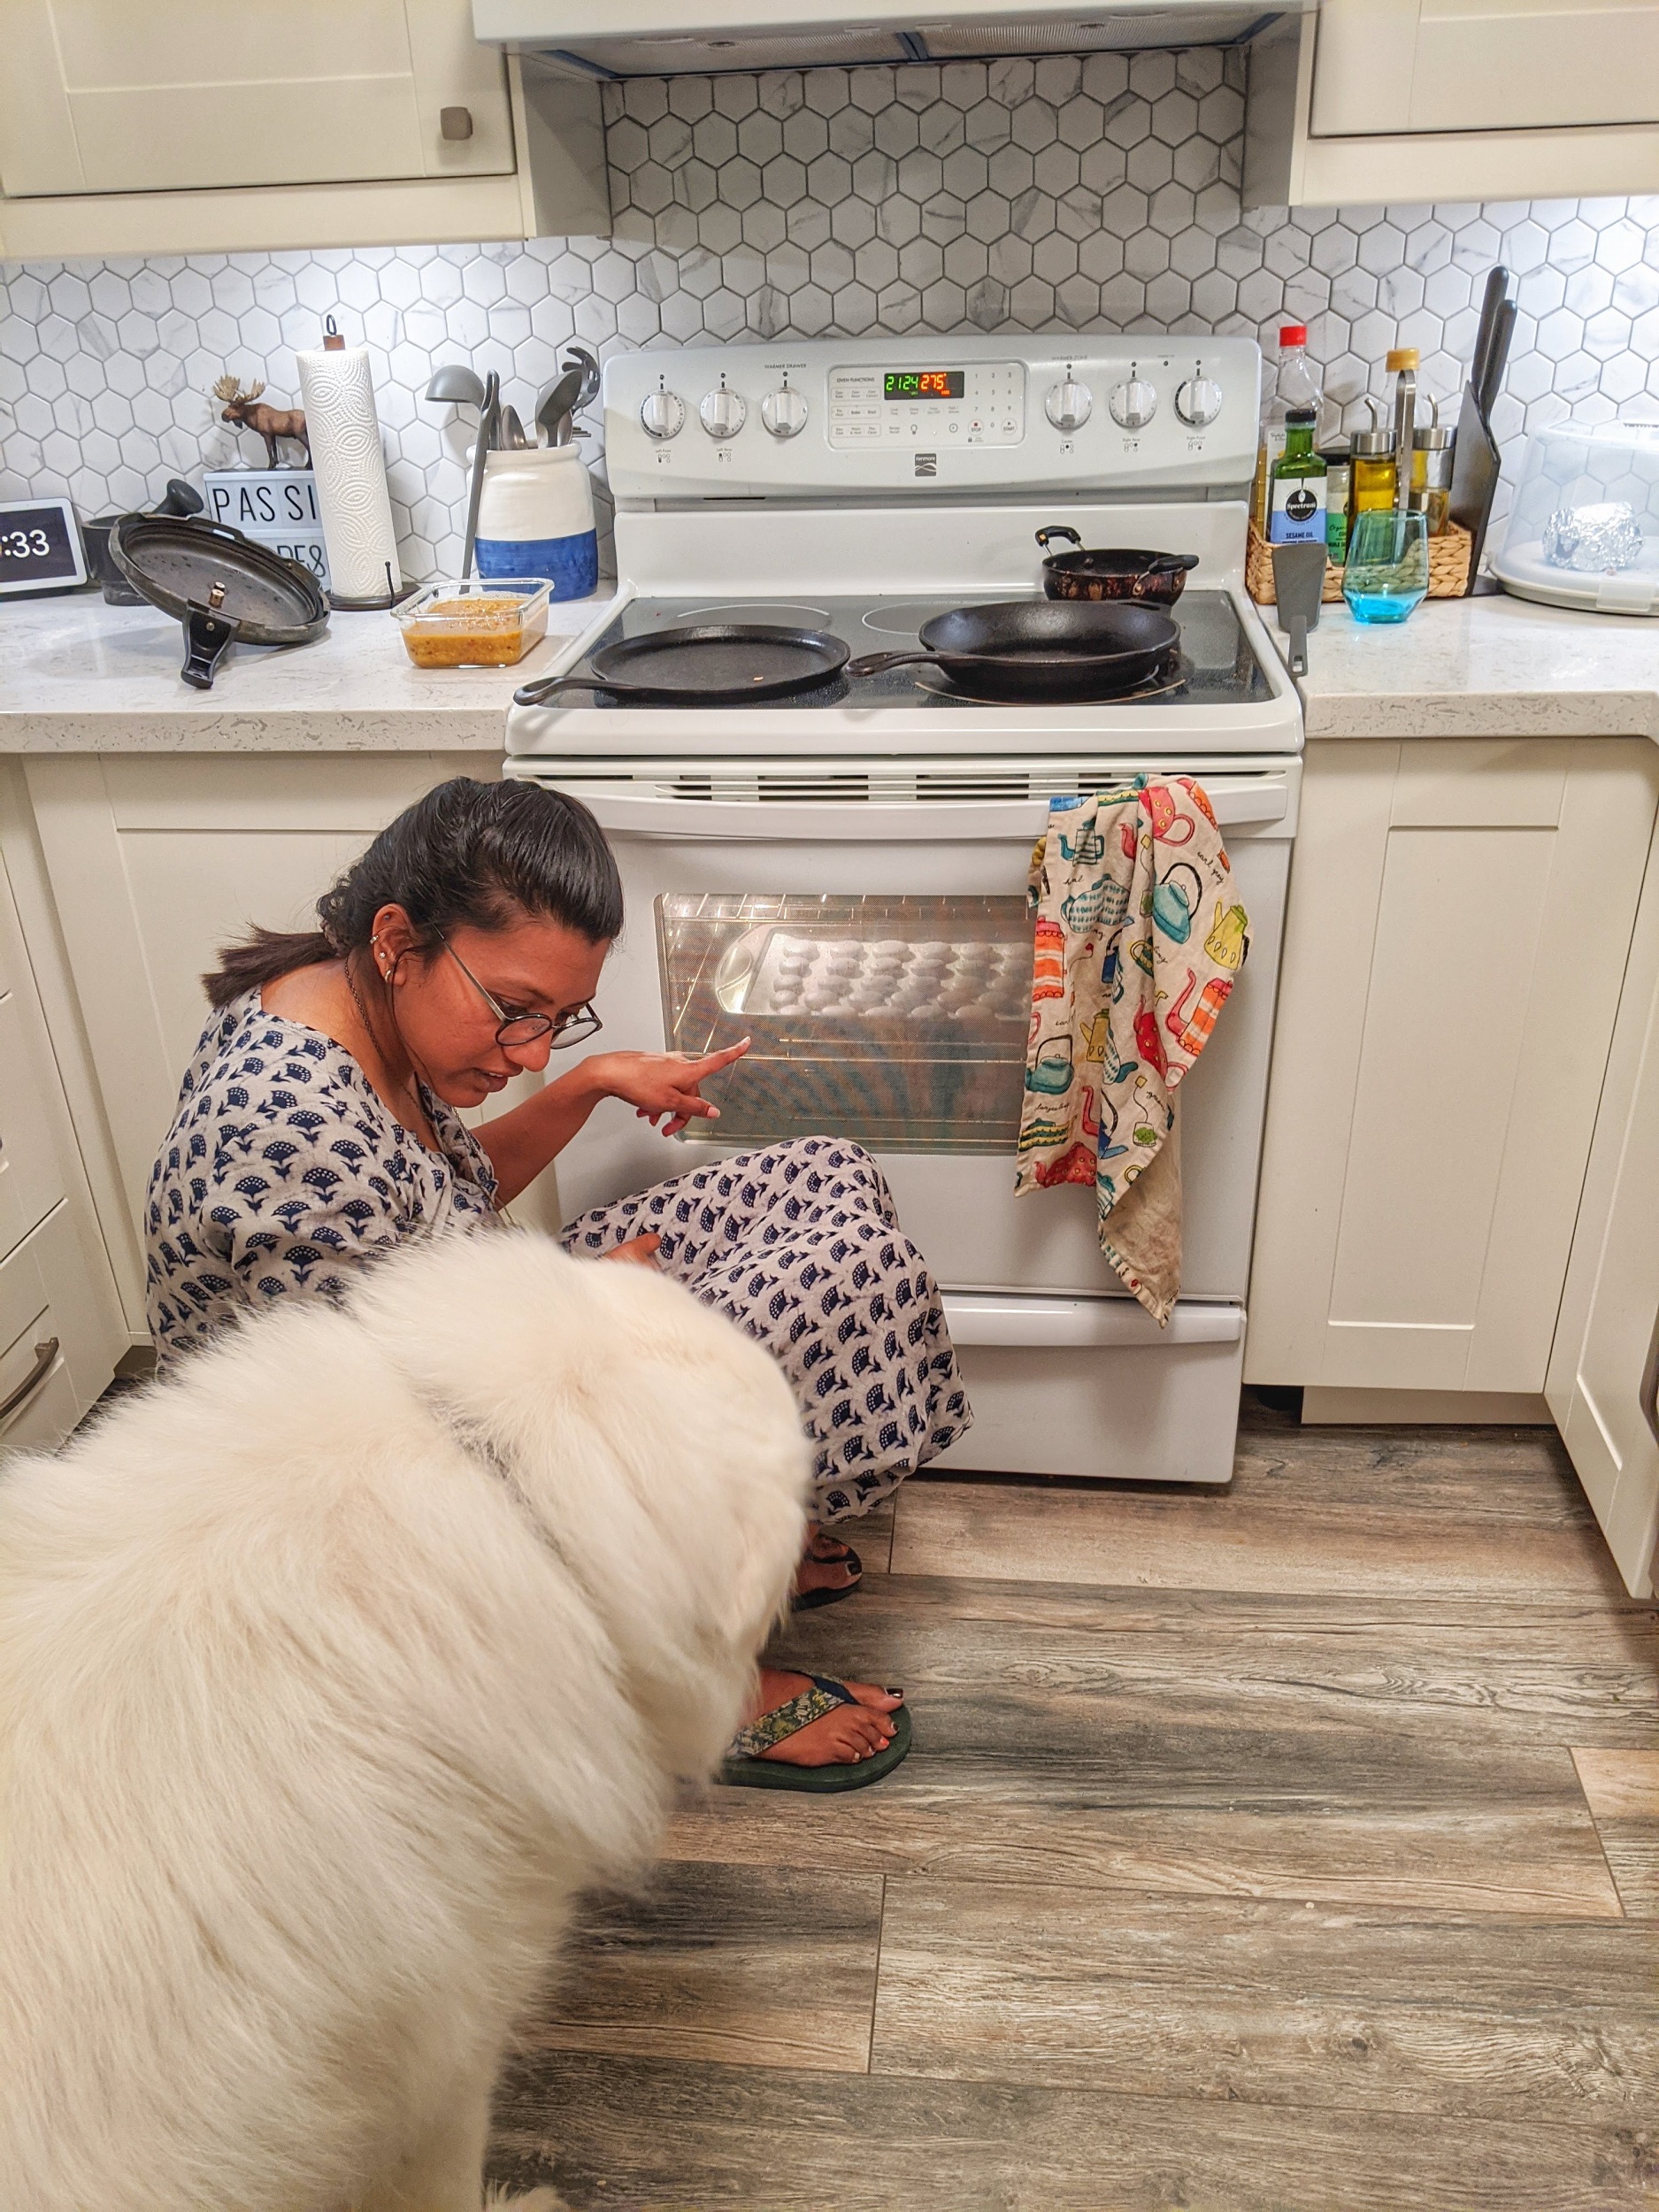
25-30 minutes in the oven at 275 F and you got yourself macarons. I would recommend pulling up a chair right next to the oven and watching them raise, it’s absolutely beautiful to watch them grow their feet.
So who’s up for a fun weekend of baking?
Colourful, light as air cookies that will transport you to the roadside cafes in France.
Separate the egg whites from the yolk in a bowl. Cover with cling wrap and poke a few tiny holes. Let this rest in the fridge for a minimum of 24 hours. You can pull this out of the fridge a couple of hours before you want to start making the macarons to bring it back to room temperature.
Blitz the almond flour and confectioner's sugar together for a couple of seconds to combine them well. Sift this mix and set it aside.
Get the egg whites into your mixing bowl. Add the salt and cream of tartar and let it sit while you prepare the sugar syrup.
In a sauce pan, heat the sugar and water together until it comes to a rolling boil. Take it off heat and set it aside.
Start whipping the eggs immediately. Once it has doubled in volume and can hold up a weak peak, add the sugar syrup, while continuing to whip.
You'll notice that your eggs are starting to have a glean to it. Whip until they can hold up a nice, stiff peak. Add a few drops of colour if you'd like.
If you are using a stand or hand held mixture, we start using our hands from this point on. Gently fold in the almond flour mix into the eggs. The batter will become more runny. Keep mixing until it falls down like ribbons and it takes abut 10 seconds for the ribbons to disappear.
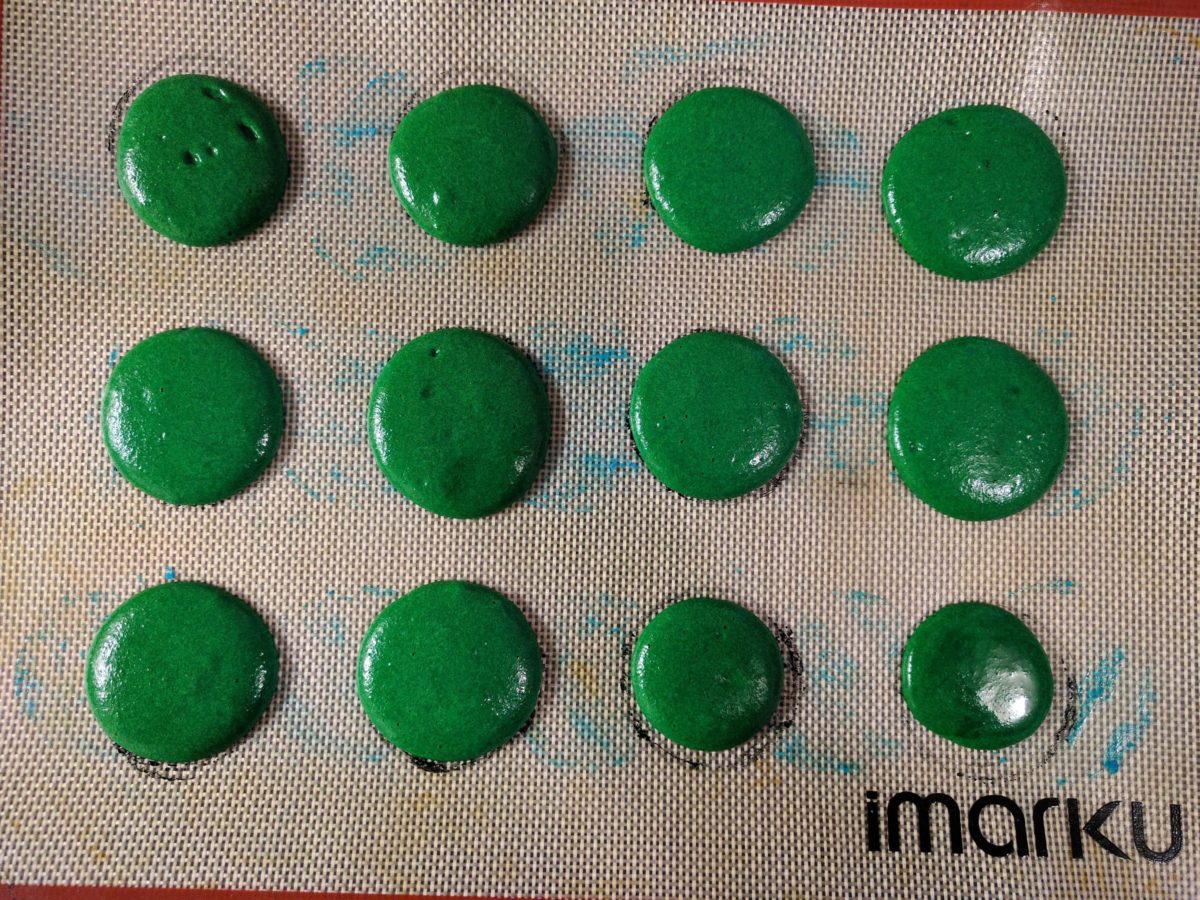
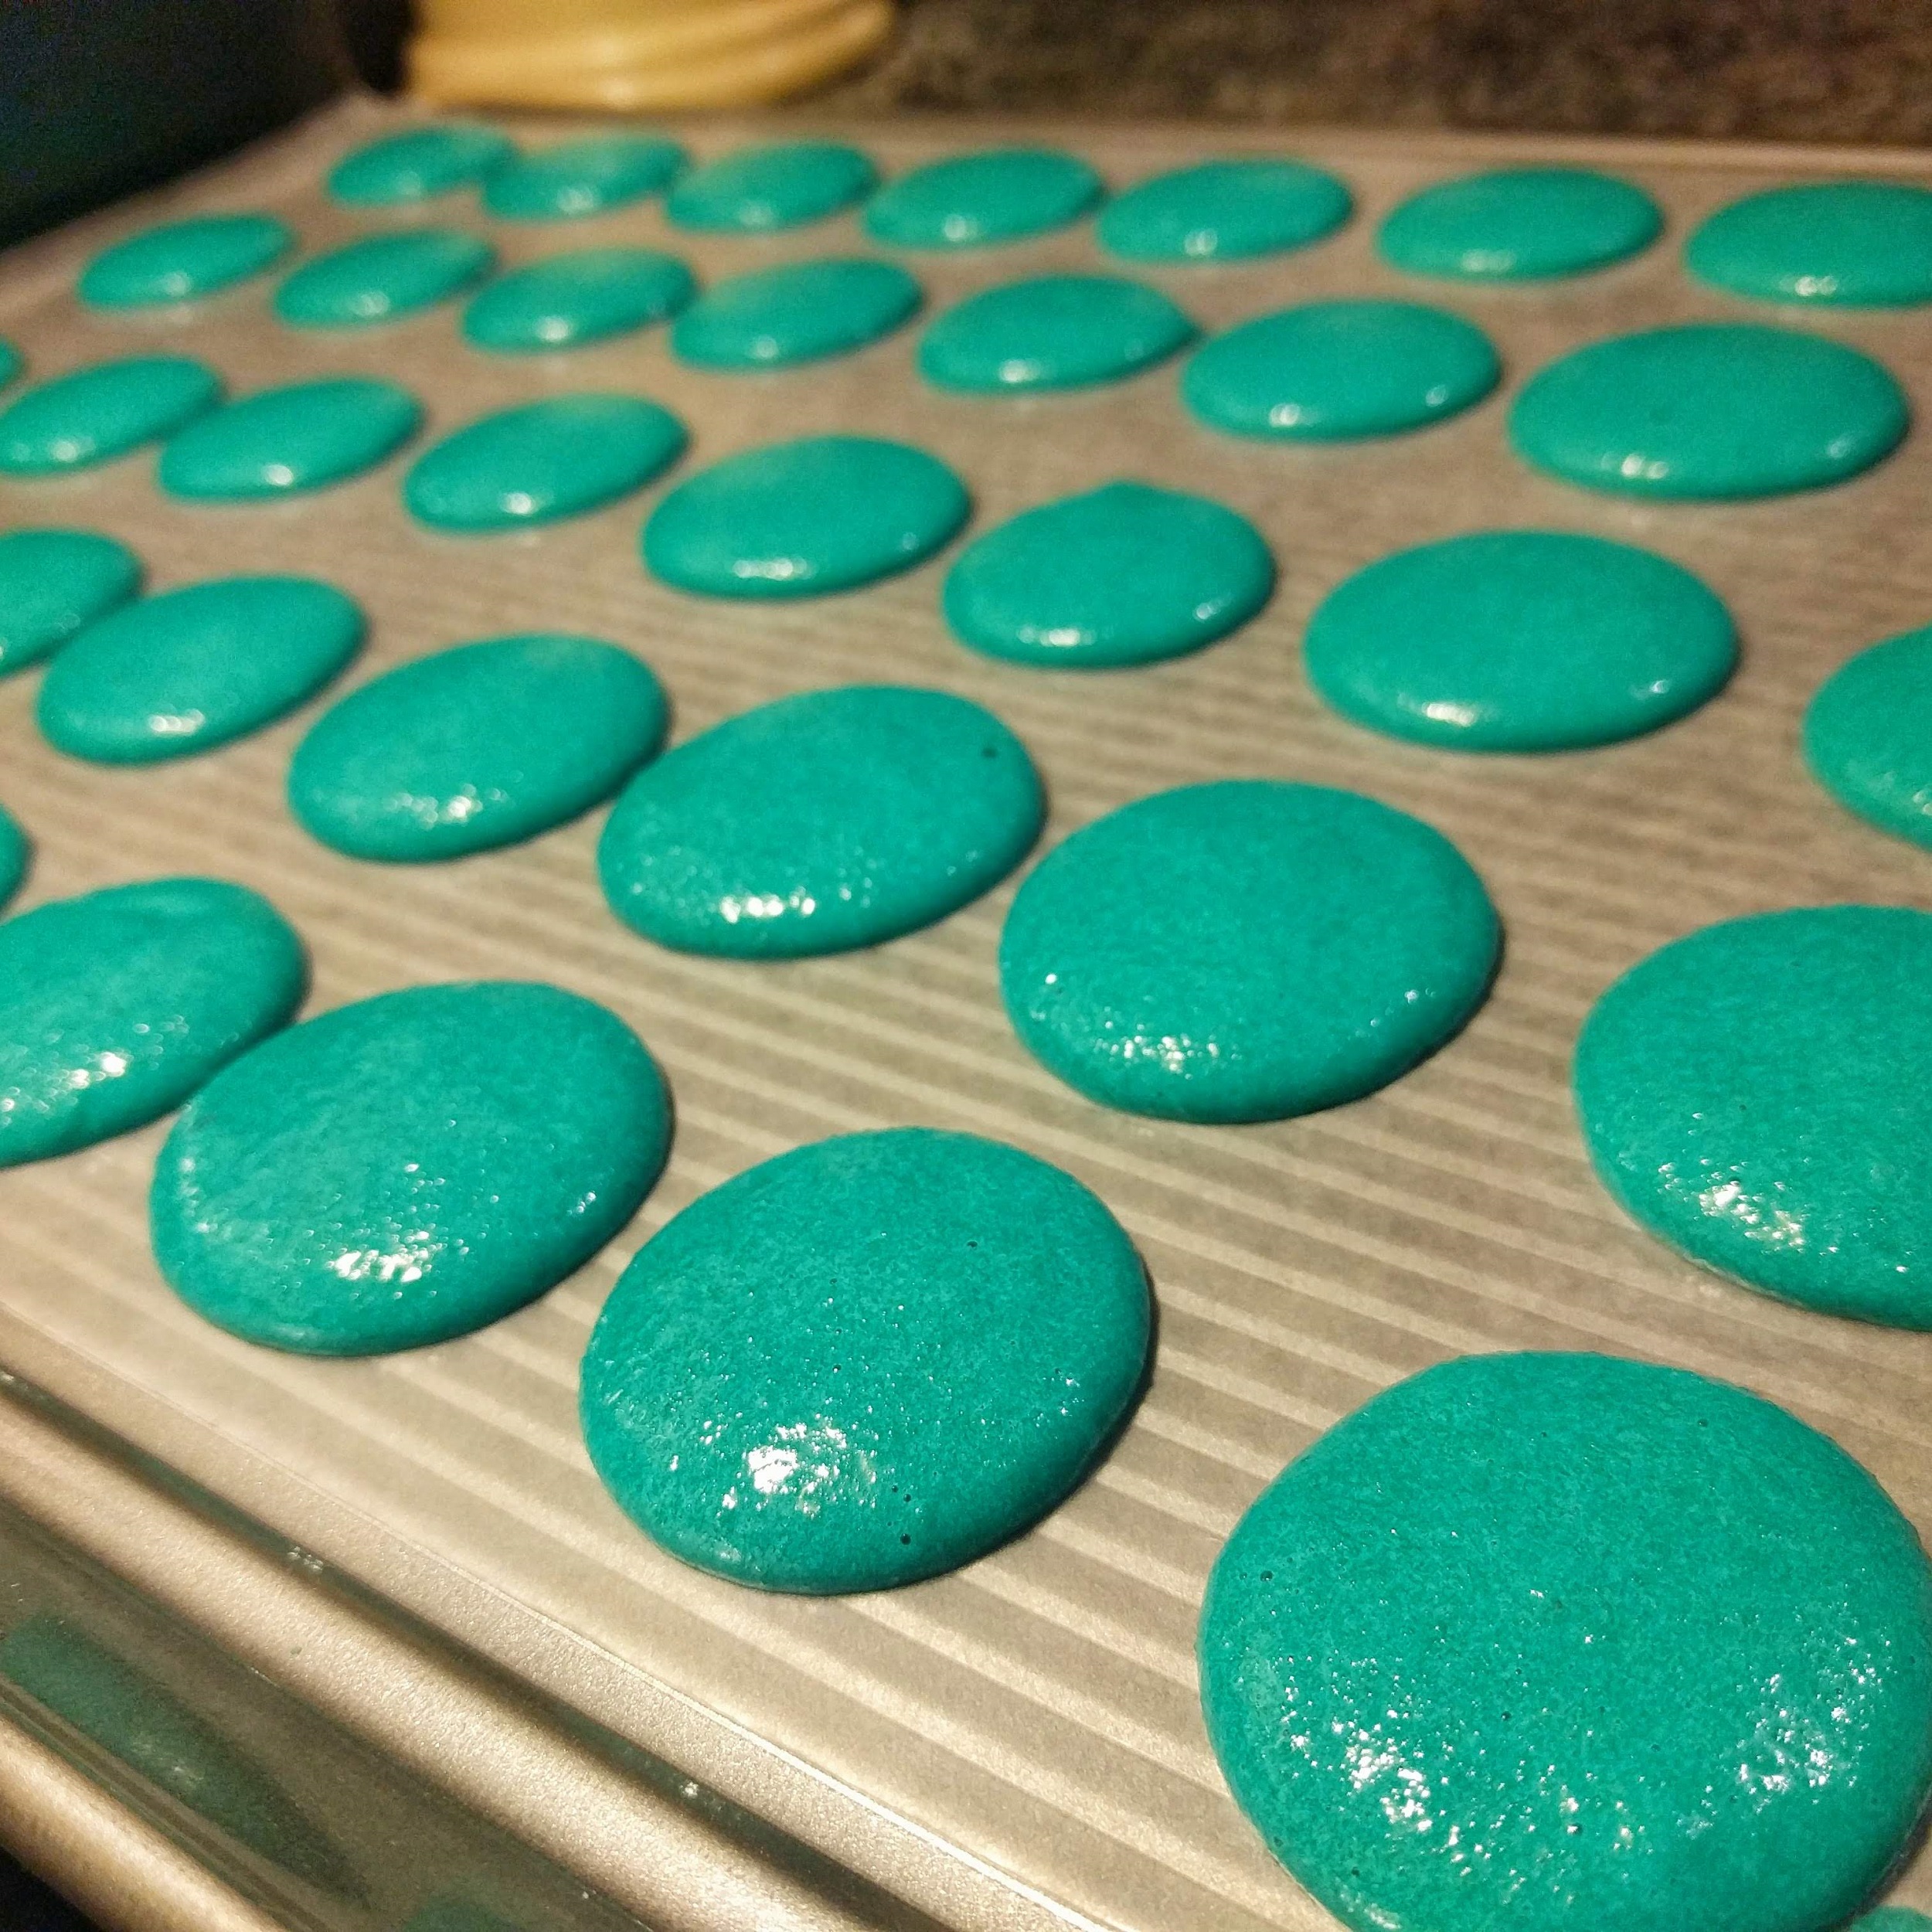
Use a piping bad or a teaspoon to lay out circular blobs on the baking try lined with parchment paper. You are essentially looking for the batter to flatten out and not sit there like a tall mountain. Since the macarons won't spread sideways in the oven, you can place them close to each other.
Allow this to rest for couple of hours in a dry, ventilated area. I normally just leave them on my dining table. After the resting, gently touch the top of the macaron to check. You should be able to feel the hardness of the shell and more importantly, your fingers should come back clean.
Preheat the oven to 275 and bake the cookies for 25-30 minutes. Remove from the oven and allow it to cool completely on the tray. Use a thin spatula to carefully separate them from the parchment paper.
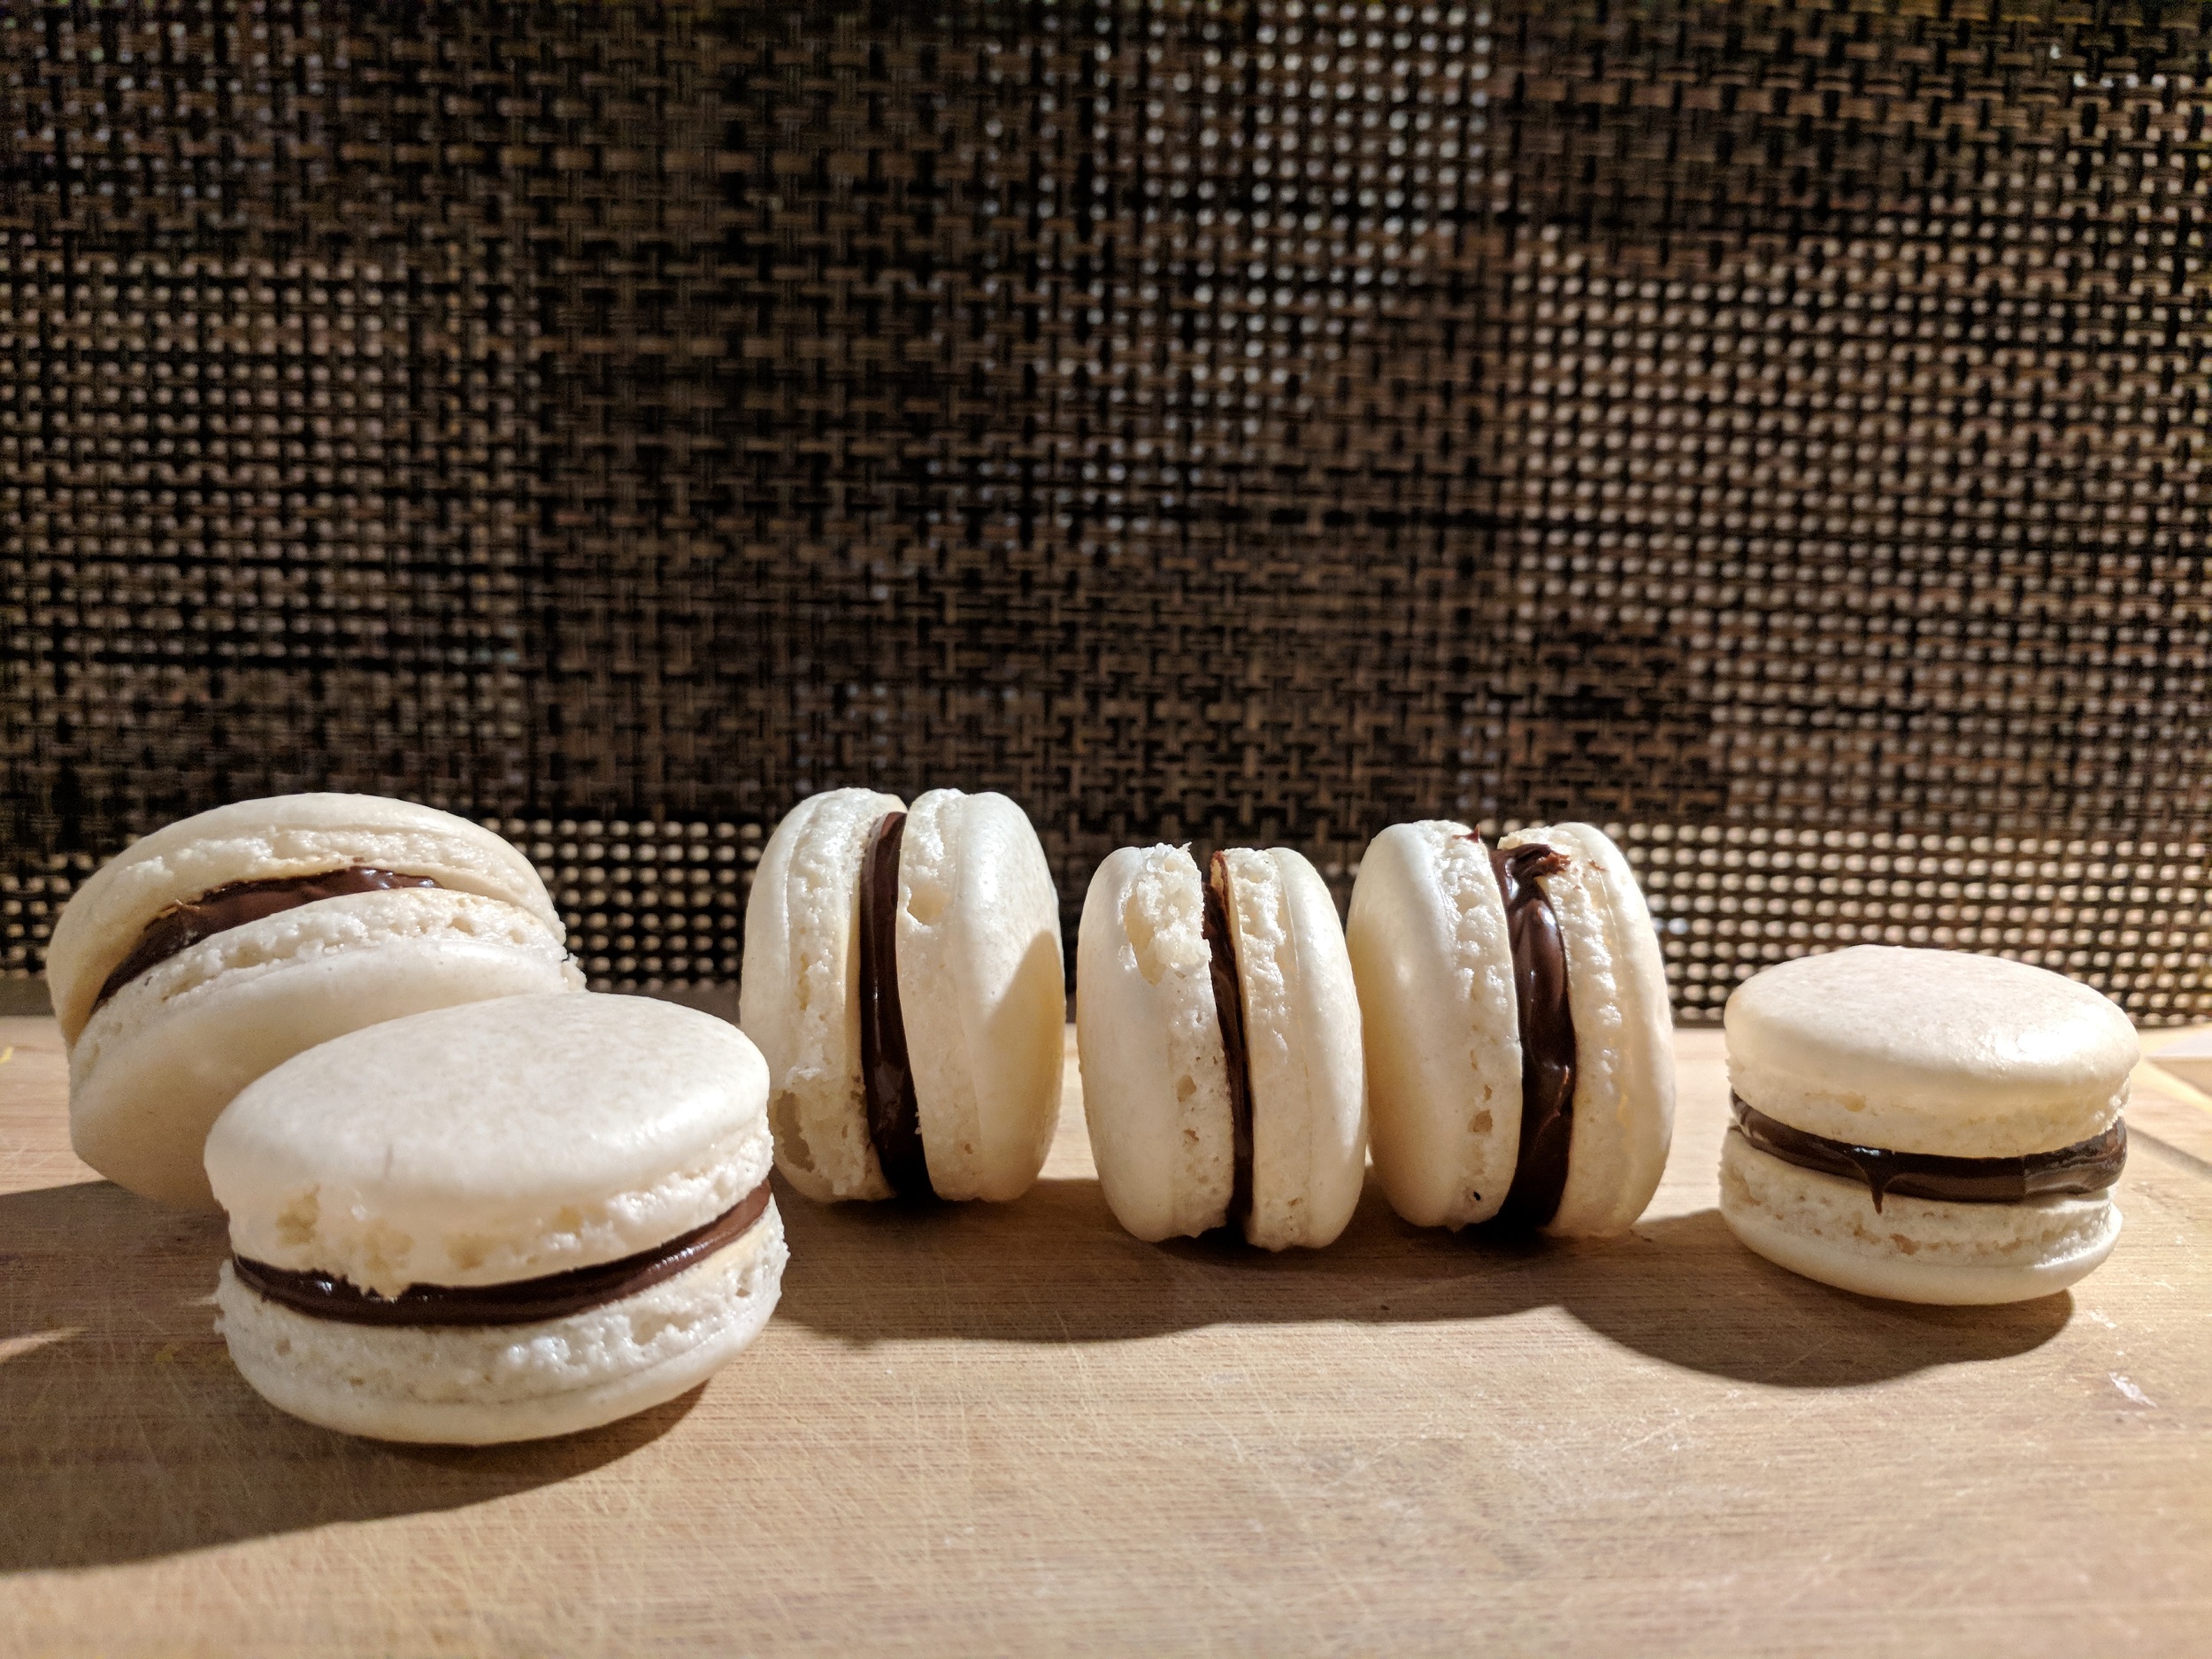
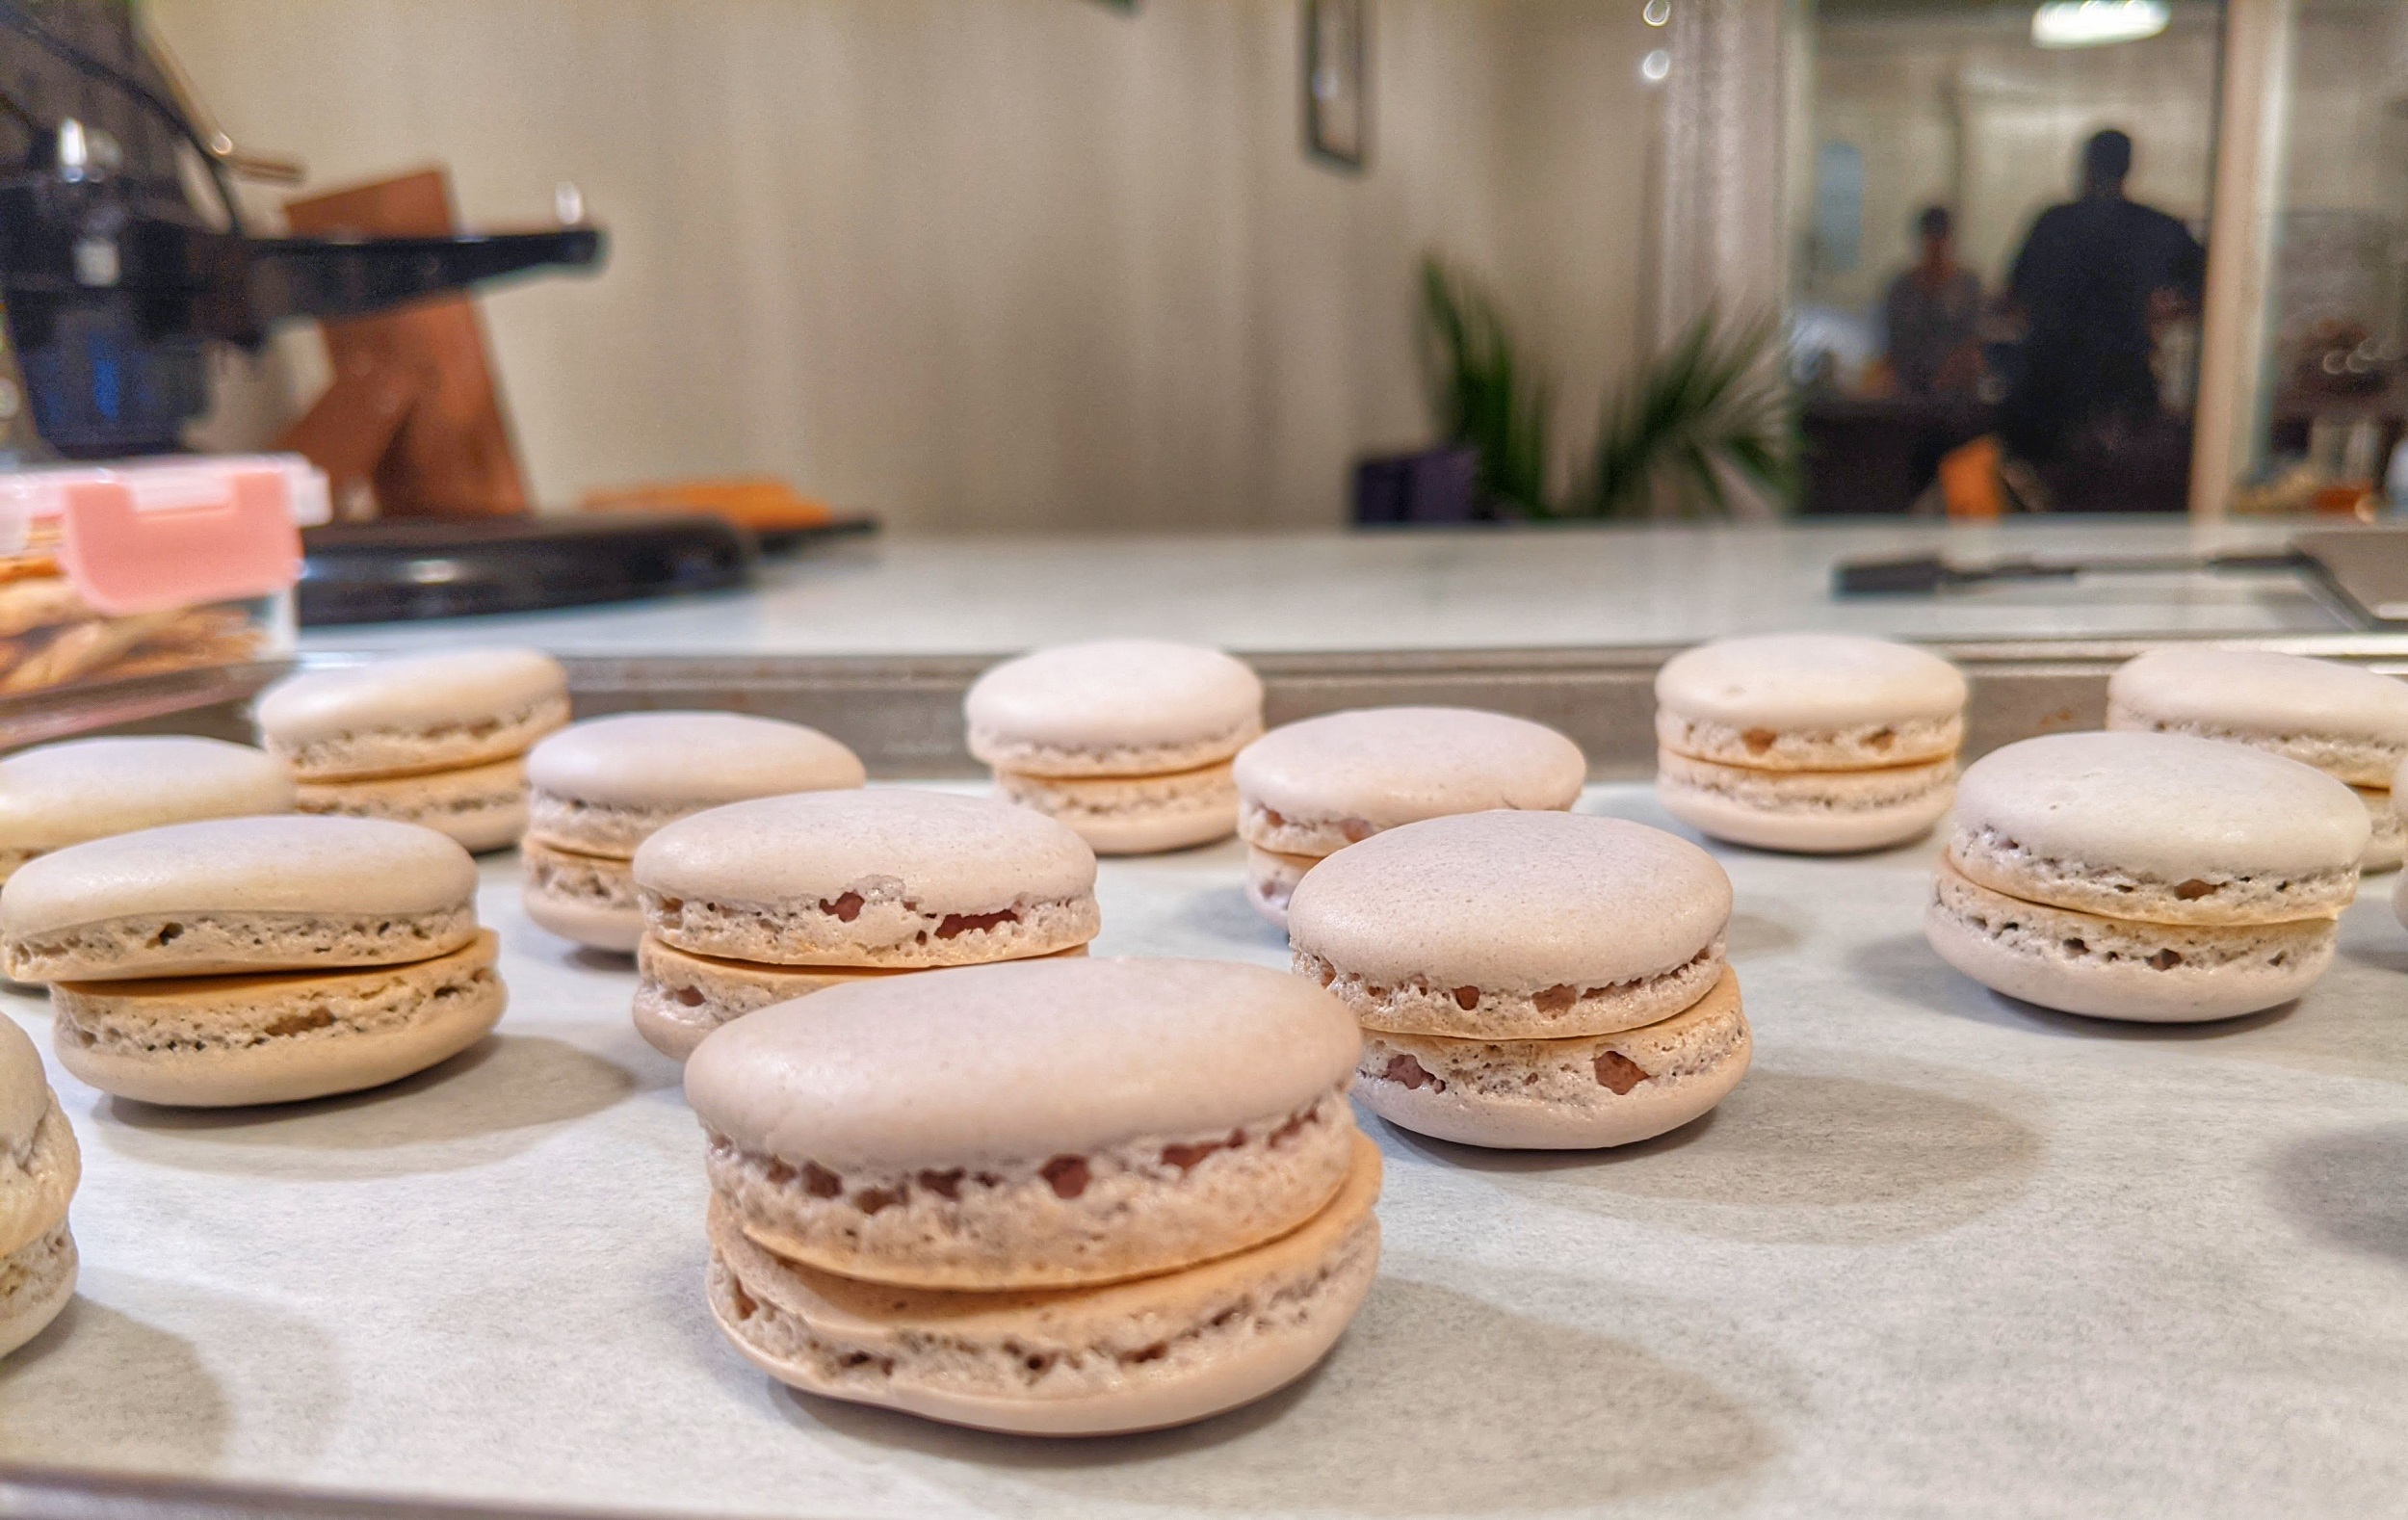
For the filling you can use jam, frosting, ganache, or anything your heart desires. I 've used plain Nutella, and it was heaven, but my new favourite is this strawberry cream cheese frosting.
Store in an airtight container in the fridge, making sure you keep a piece of parchment paper between each layer to make sure that they don't stick.
Whip the cream cheese for a minute a two, until it becomes a bit fluffy. Alternate between adding the sugar, strawberry jam, and cream until they are all well incorporated.
Use a consistent measure like 1/2 tsp or 1 tsp (depending on the size of your macarons) to fill your them.
Fantastic!! They look perfect!! More power to your amazing determination! 🥰